So this week has been my opportunity to experiment with the 70-200mm. So what do I think? To be honest, I don't really know. Apart from the considerable increase in weight this lens has compared to the 17-55mm, obviously having to stand at a much further distance from my subjects. I am still yet to learn what advantages a telephoto lens can bring to my photos. I suppose due to the longer lens and with aperture f/2.8, it allows my backgrounds to 'drop off' more and allows the subjects in my photo to appear more 'stacked'. I think i'd much rather buy an extension tube instead of investing in a telephoto lens for food photography at this point. After all, Its not like i work in a big studio kitchen - just our little 8x5m apartment kitchen :) I will be conducting some research this week on why a telephoto in regards to the output quality of food photos.
I wanted to bake something with chocolate this week because it had been a while since I had a nice chocolate flavoured cake. But I didn't want anything too sweet and rich either, so I decided to bake a basic vanilla and chocolate marble cake with a hint of lemon.
Now time to experiment with the 'new' lens. These photos were taken in very low light, with the lens mounted on a tripod of course. I struggled a little with setting up my composition from time to time because of the weight of the lens (i'm a somewhat small person so hand holding this lens can be a bit of a struggle!) and having to always step further and further back.
This week I am also trying to experiment with different Photoshop Actions and Filters. I really adore Aran Goyoaga and Beatrice Peltre's work. I love the colours and textures they use in their food styling. Textures, creative props and colours really make a difference in excellent food styling, so I did a bit of shopping this week to add to my prop collection! I noticed that they also play on Photoshop Actions to bring out these colours and textures in various different ways.
Food photography is all about making the food look the way consumers see it in their mind's eye. Its not as simple as taking a beautiful dish you cooked for dinner, throwing it down and taking a photo. Alot of the work goes into the styling itself.
The recipe I used for this cake is very easy. I took a basic recipe and adapted it a little, just by throwing in some lemon zest and lemon extract to give the cake a little bit of a lemon flavour. I also substituted milk for buttermilk in this recipe.
Lemon and Chocolate Marble Cake
- 2 cups all-purpose flour
- 2 tsp baking powder
- ½ tsp salt
- 1 cup white sugar
- ½ cup butter, softened
- 2 eggs
- 1 tsp vanilla extract
- 1 cup buttermilk
- 2 Tbsp unsweetened cocoa powder
- zest of 1 lemon
- 2 Tbsp lemon extract
- ¾ cup confectioners sugar
- 2 Tbsp lemon extract
DIRECTIONS
- Preheat oven to 350 F (175 C). Grease and flour a 9 inch round cake pan.
- Place flour, baking powder, salt, sugar, butter, eggs, vanilla extract and buttermilk into a mixing bowl. Beat slowly to moisten, then beat with an electric mixer at medium speed for about 2mins until smooth.
- Beat in lemon zest and lemon extract. Reserve half the batter. Pour the remainder into the pan.
- Stir cocoa into the reserved batter. Drop by spoonfuls over the top of the white batter. Using a knife, swirl the cocoa batter into the white batter to incorporate it in a marble effect.
- Bake in preheated oven for 30-35mins, until an inserted wooden pick comes out clean.
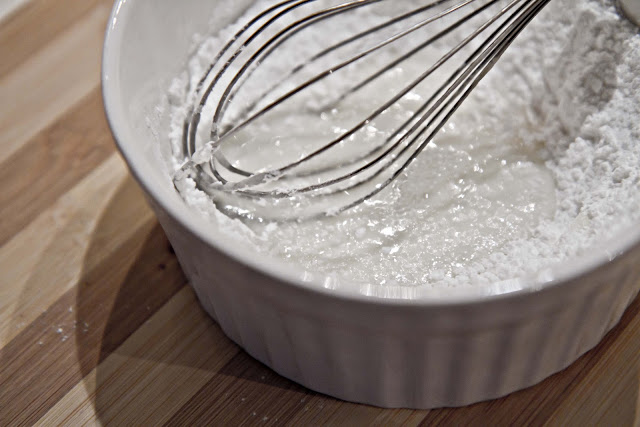
- Remove cake from oven and let it cool completely. Meanwhile, for the sugar glaze, pour confectioners sugar in a bowl and hand-mix in lemon extract until desired consistency. Use a piping bag or spoon to drizzle glaze over cake.


No comments:
Post a Comment